and the distribution of digital products.
How to Automatically Publish Your NPM Package Using GitHub Actions
\ Automating your npm package publishing process with continuous integration and delivery (CI/CD) ensures that each release passes through a quality gate—your test suite—before publication. At the same time, you can control exactly what ends up in the final published package by excluding test files. In this guide, you’ll learn how to set up CI/CD for a simple npm package—an alphanumeric validator—so that every new GitHub release triggers tests, updates the package version, and automatically publishes a clean package to npm.
\
Why Automate npm Publishing?Manual npm publishing can be time-consuming and error-prone, particularly as your project grows and gains contributors. By automating the process, you can:
- Ensure Quality: Automatically run tests before publishing. If tests fail, the new version isn’t released.
- Consistent Versioning: The published package version always matches the release tag.
- Frictionless Collaboration: Contributors submit code, you create a release, and the pipeline does the rest—no special npm permissions are required.
\
Prerequisites- Node.js & npm:
- Click here if you do not have NodeJS and NPM installed.
- Confirm installation by running the code below in your terminal.
- GitHub Account & Repository:
- You need a GitHub repository to store code and run GitHub Actions.
- NPM Account & Access Token:
- Sign up or log in at npmjs.com and generate an access token.
- Add the access token as a secret in your GitHub repository for automated publishing.
\
Step 1: Set Up the ProjectWe’ll create a simple alphanumeric-validator package that exports a function checking if a string is alphanumeric.
- Initialize the Project
- Update package.json as needed. For the alphanumeric-validator, it will look like this.
- Implement the Validator
\
Step 2: Add and Run Tests LocallyTesting ensures you don’t publish broken code.
- Install Jest
- Create a Test File
- Paste the code below in the tests/index.text.js file.
- Run Tests
\
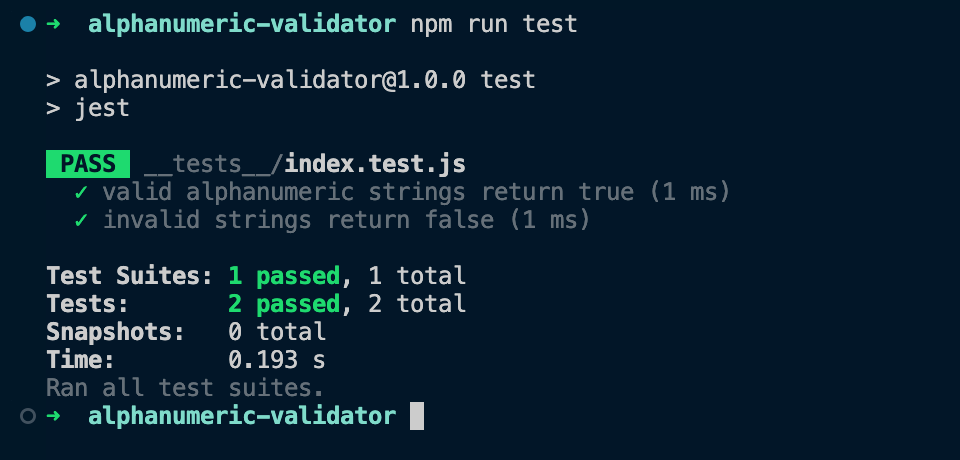
Tests passing? Great. Now, we’ll ensure these tests run in CI before publishing.
\
Step 3: Exclude Node Modules from GitBefore publishing to Github, you want to exclude the node_modules. You don’t want to commit node_modules to version control, as it contains a large number of files that can be regenerated by npm install.
\ Create a .gitignore file at the root of your project:
echo "node_modules" >> .gitignoreThis ensures that node_modules is not tracked by git and won’t be pushed to your repository.
Step 4: Exclude Tests from the Published PackageWhile you will run tests during CI, you don’t want the test files included in your published npm package. This keeps the package clean, has a small bundle size, and ensures only the necessary files are shipped to users. \n
Create an .npmignore file in the root folder and add the test file names.
// .npmignore __tests__ *.test.js // captures all files in the directory with a .test.js extension\ This ensures the test files are not included when you run npm publish.
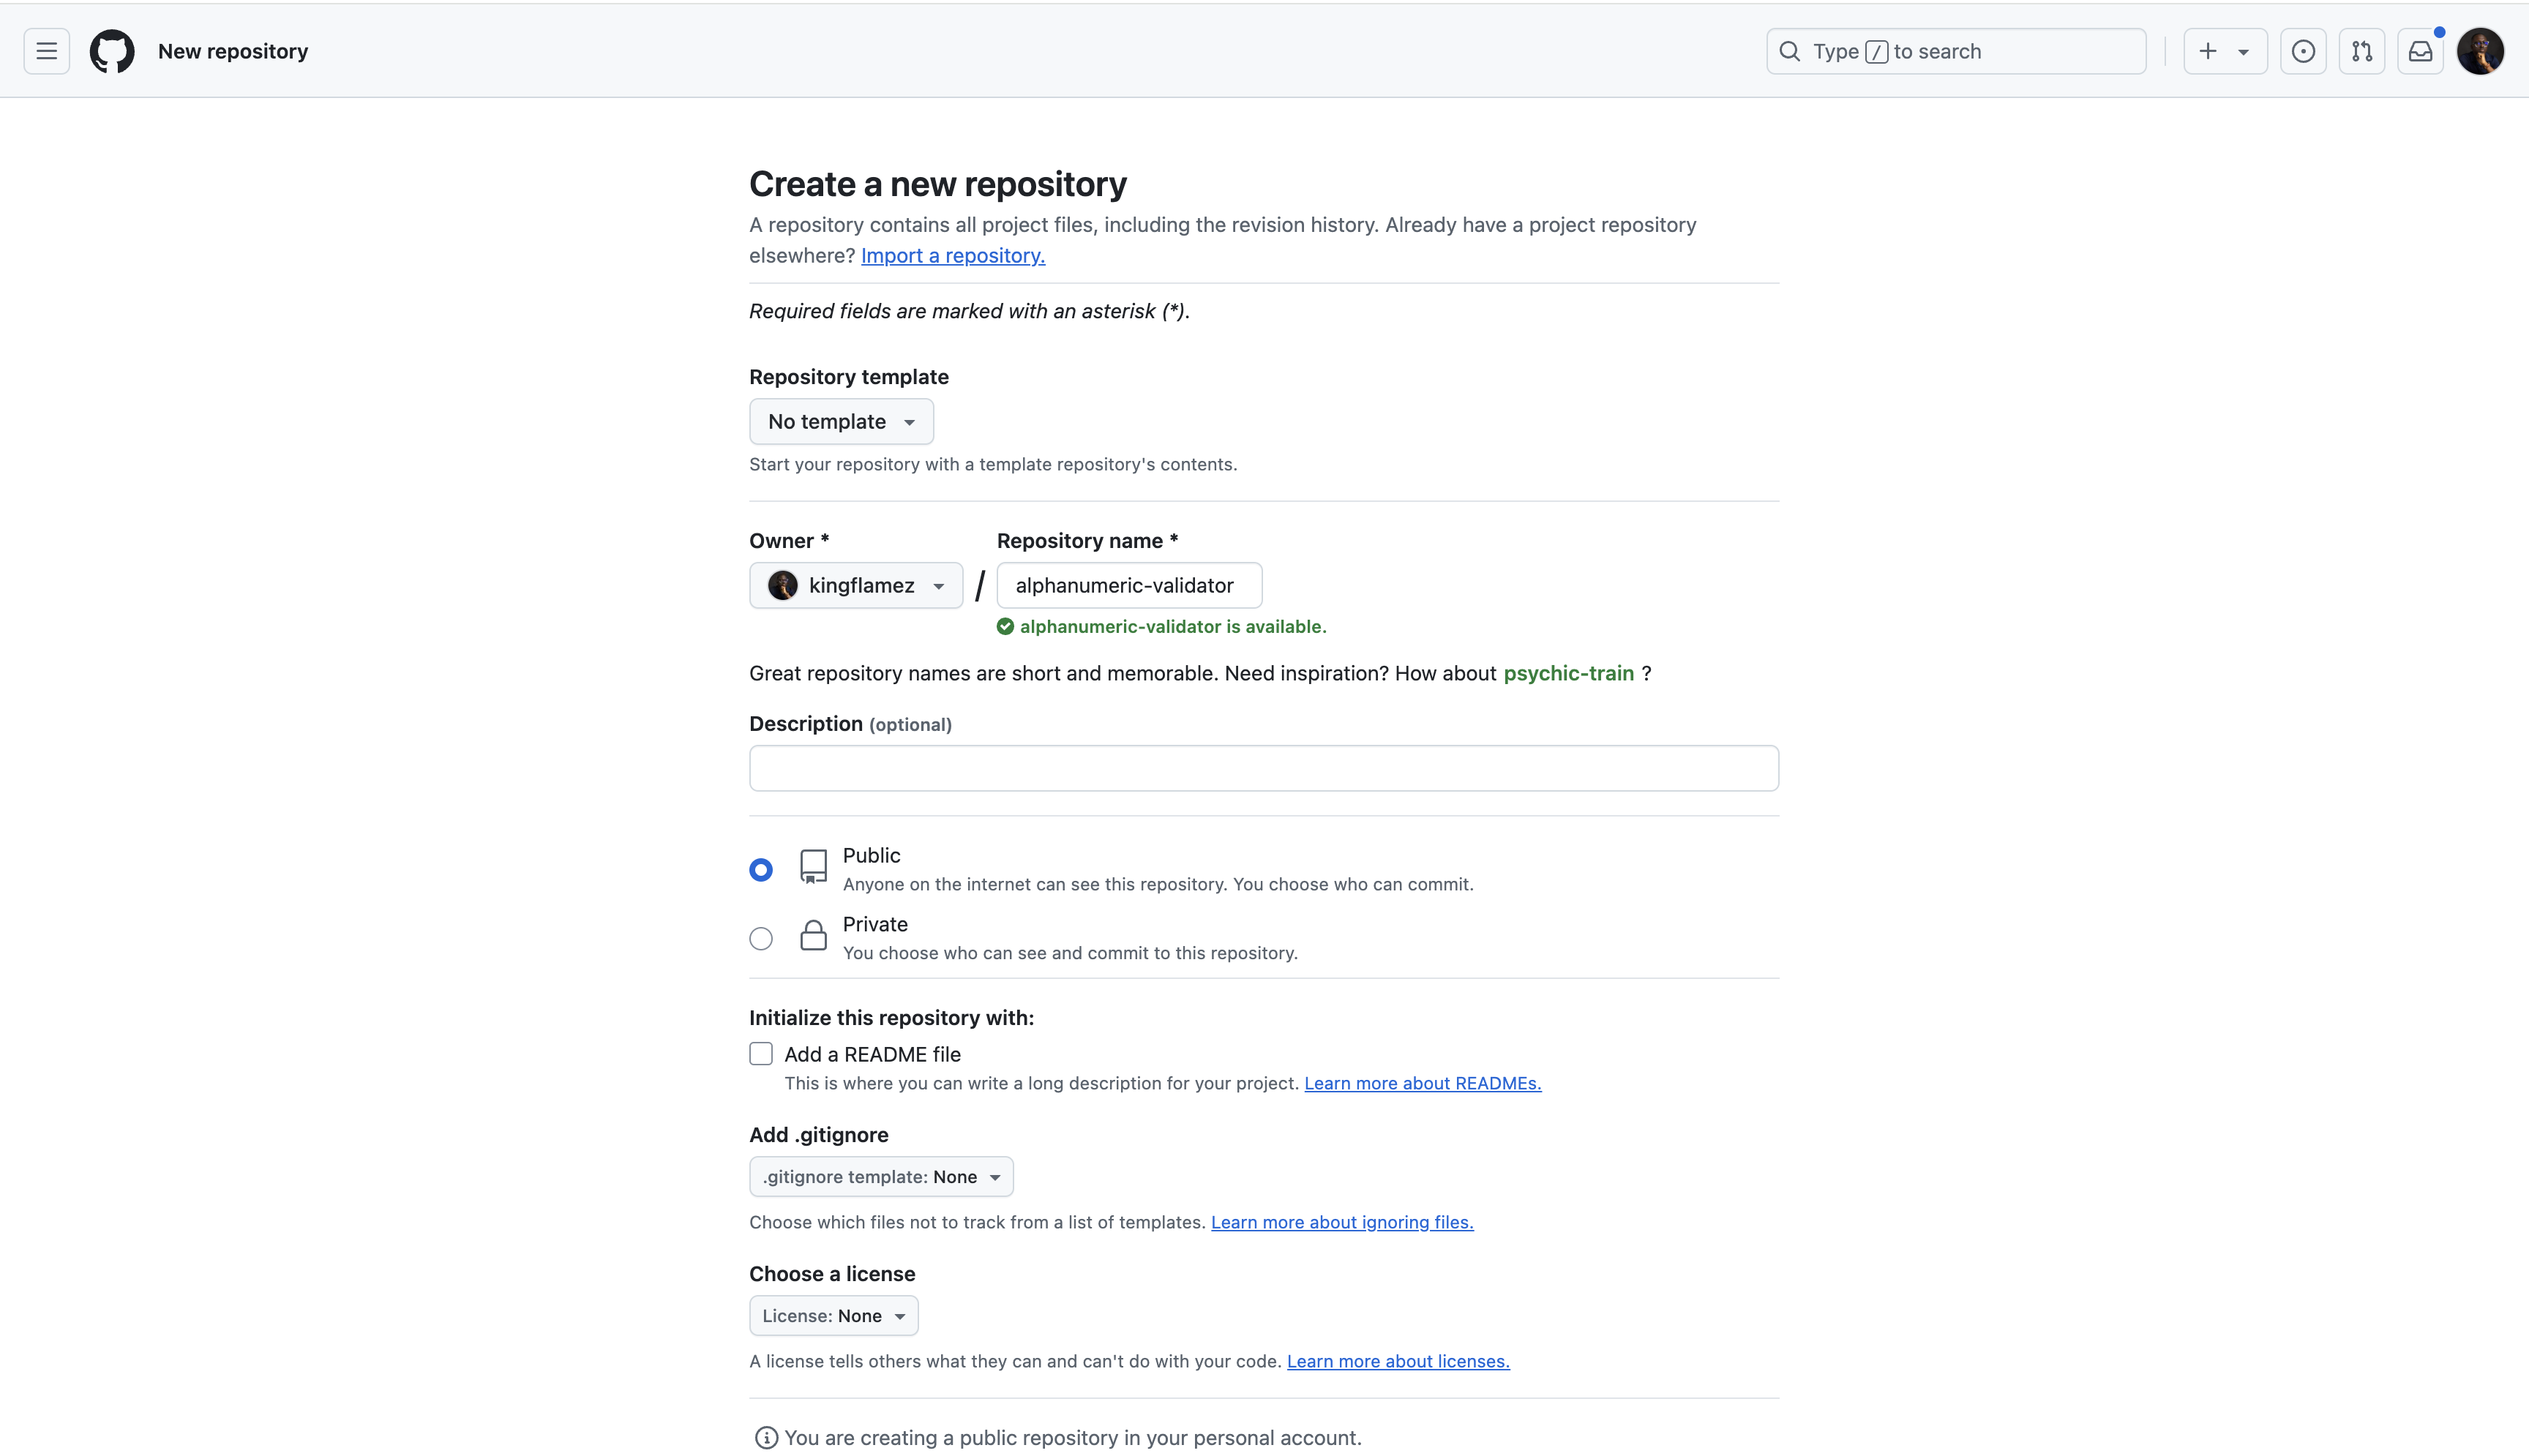
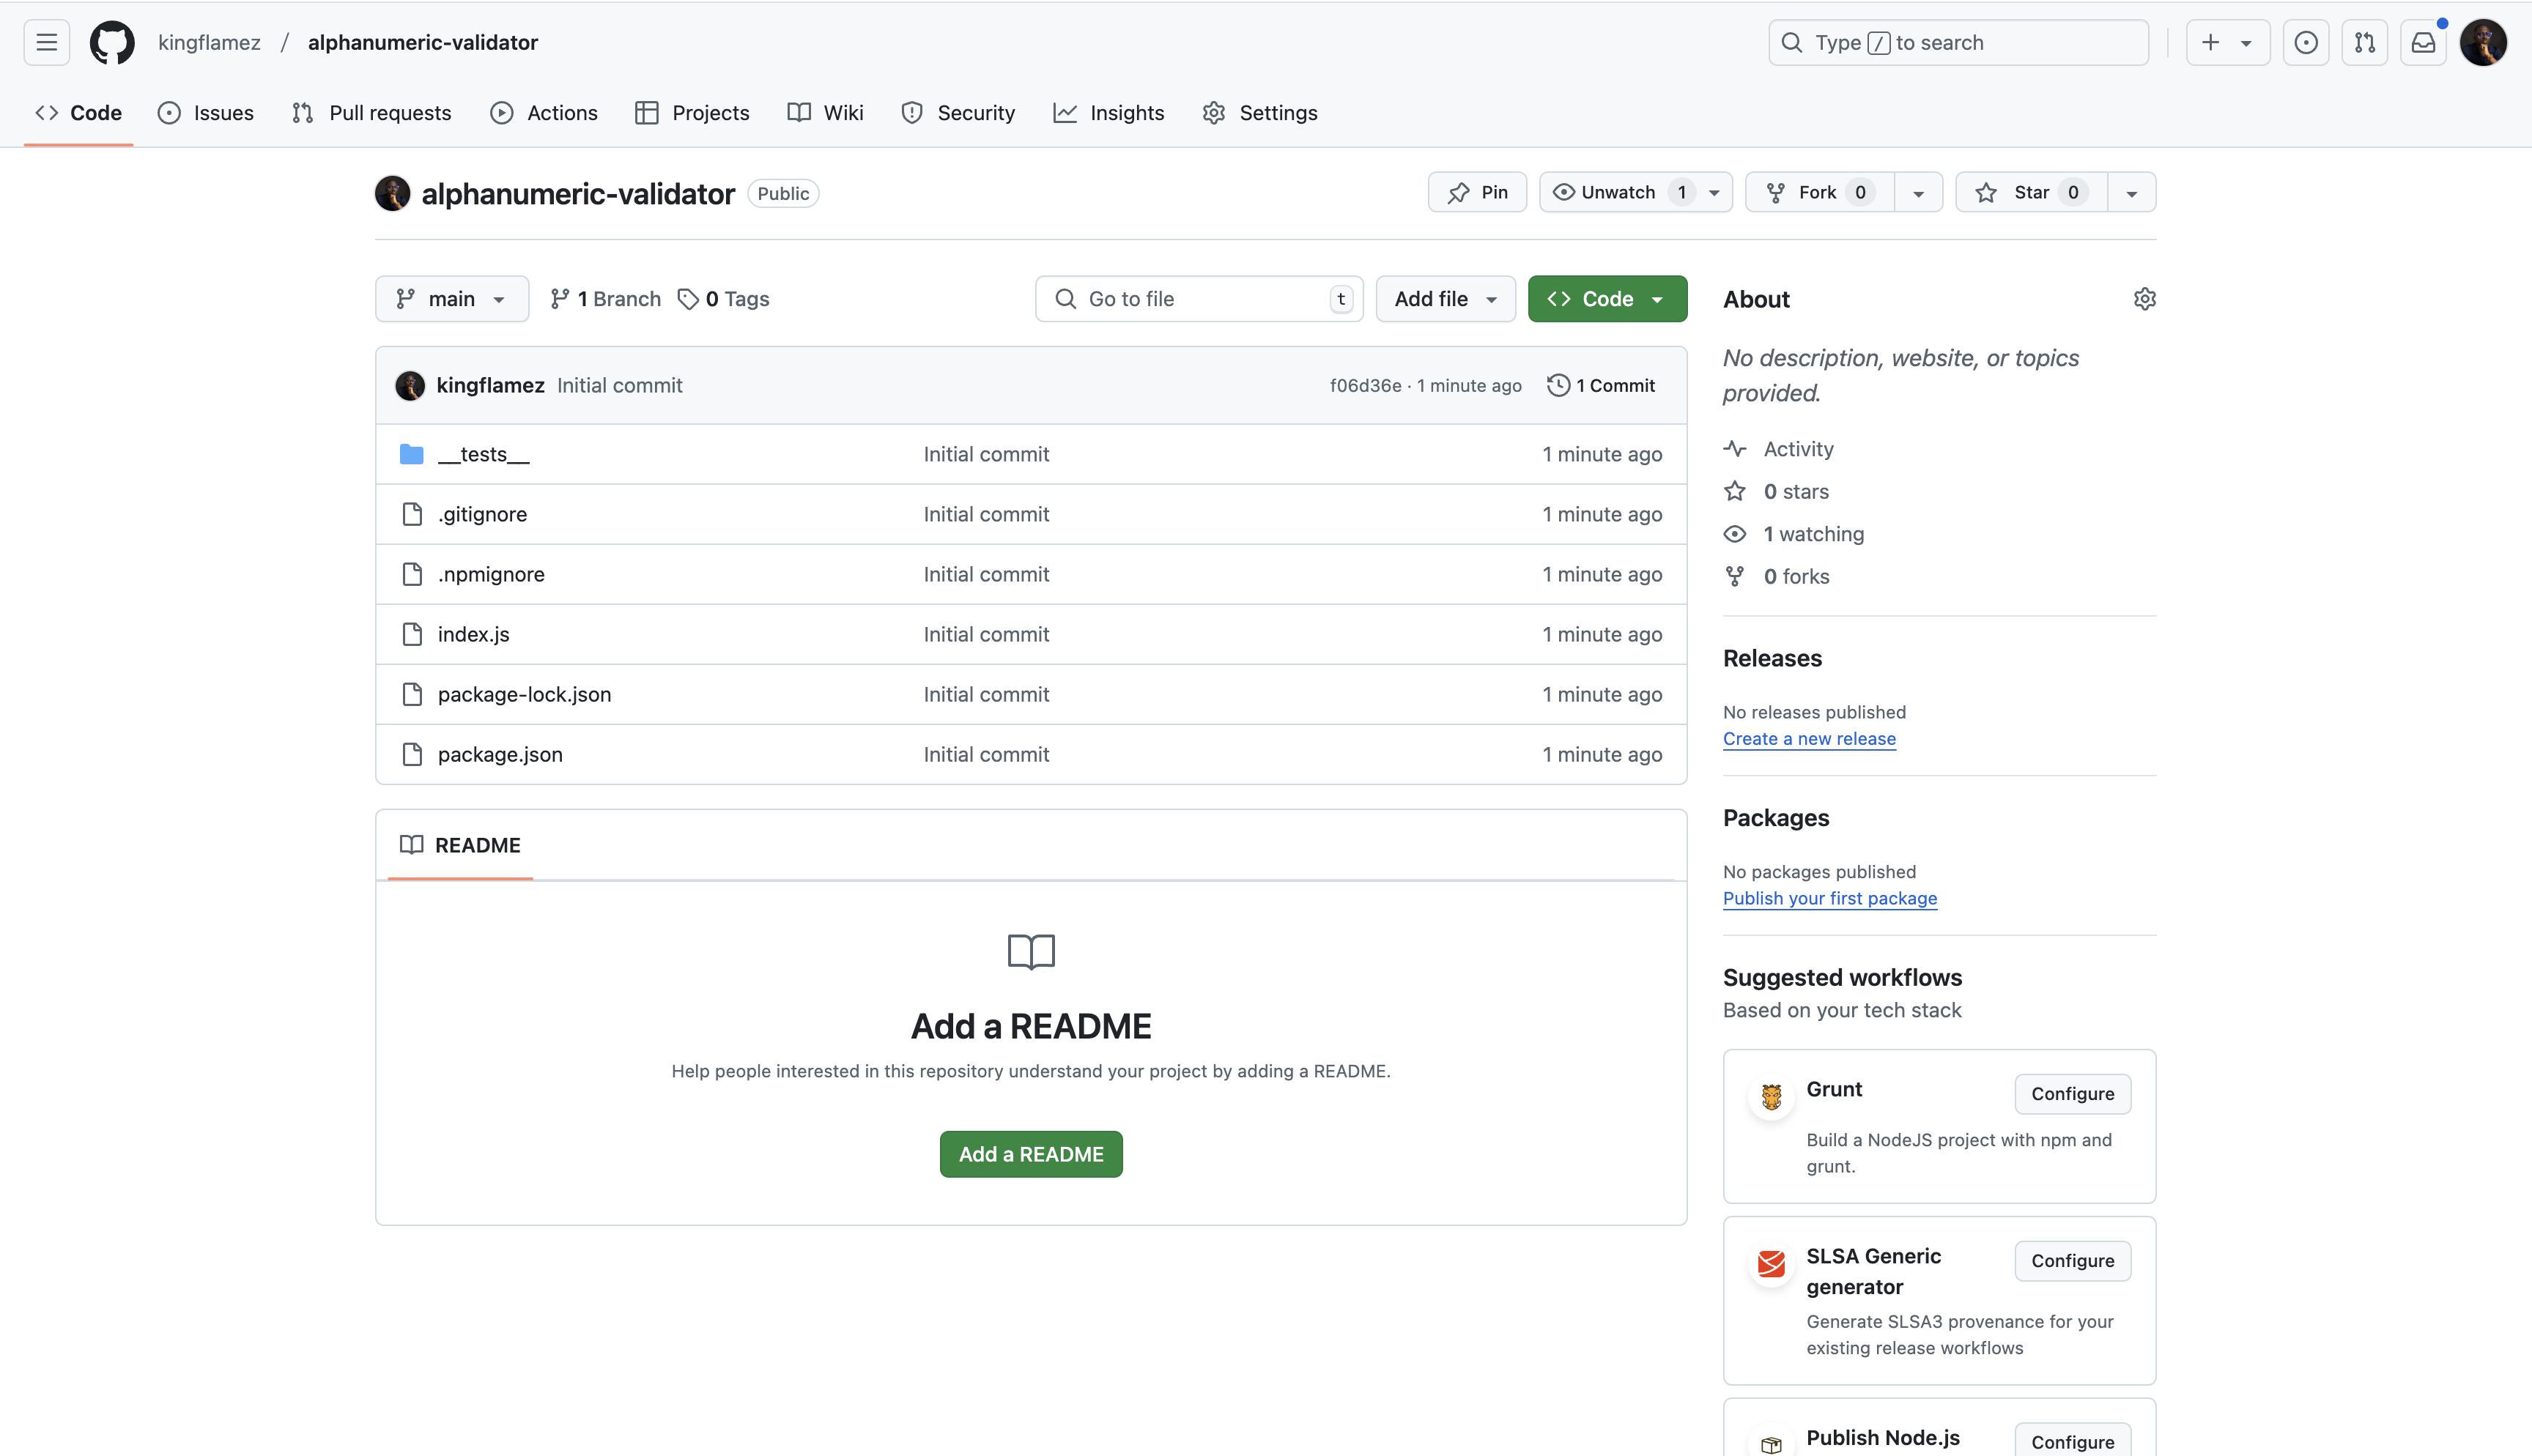
Step 5: Host Your Code on GitHub- Create a New GitHub Repository:
Go to https://github.com/new and create a alphanumeric-validator repository.
\
\
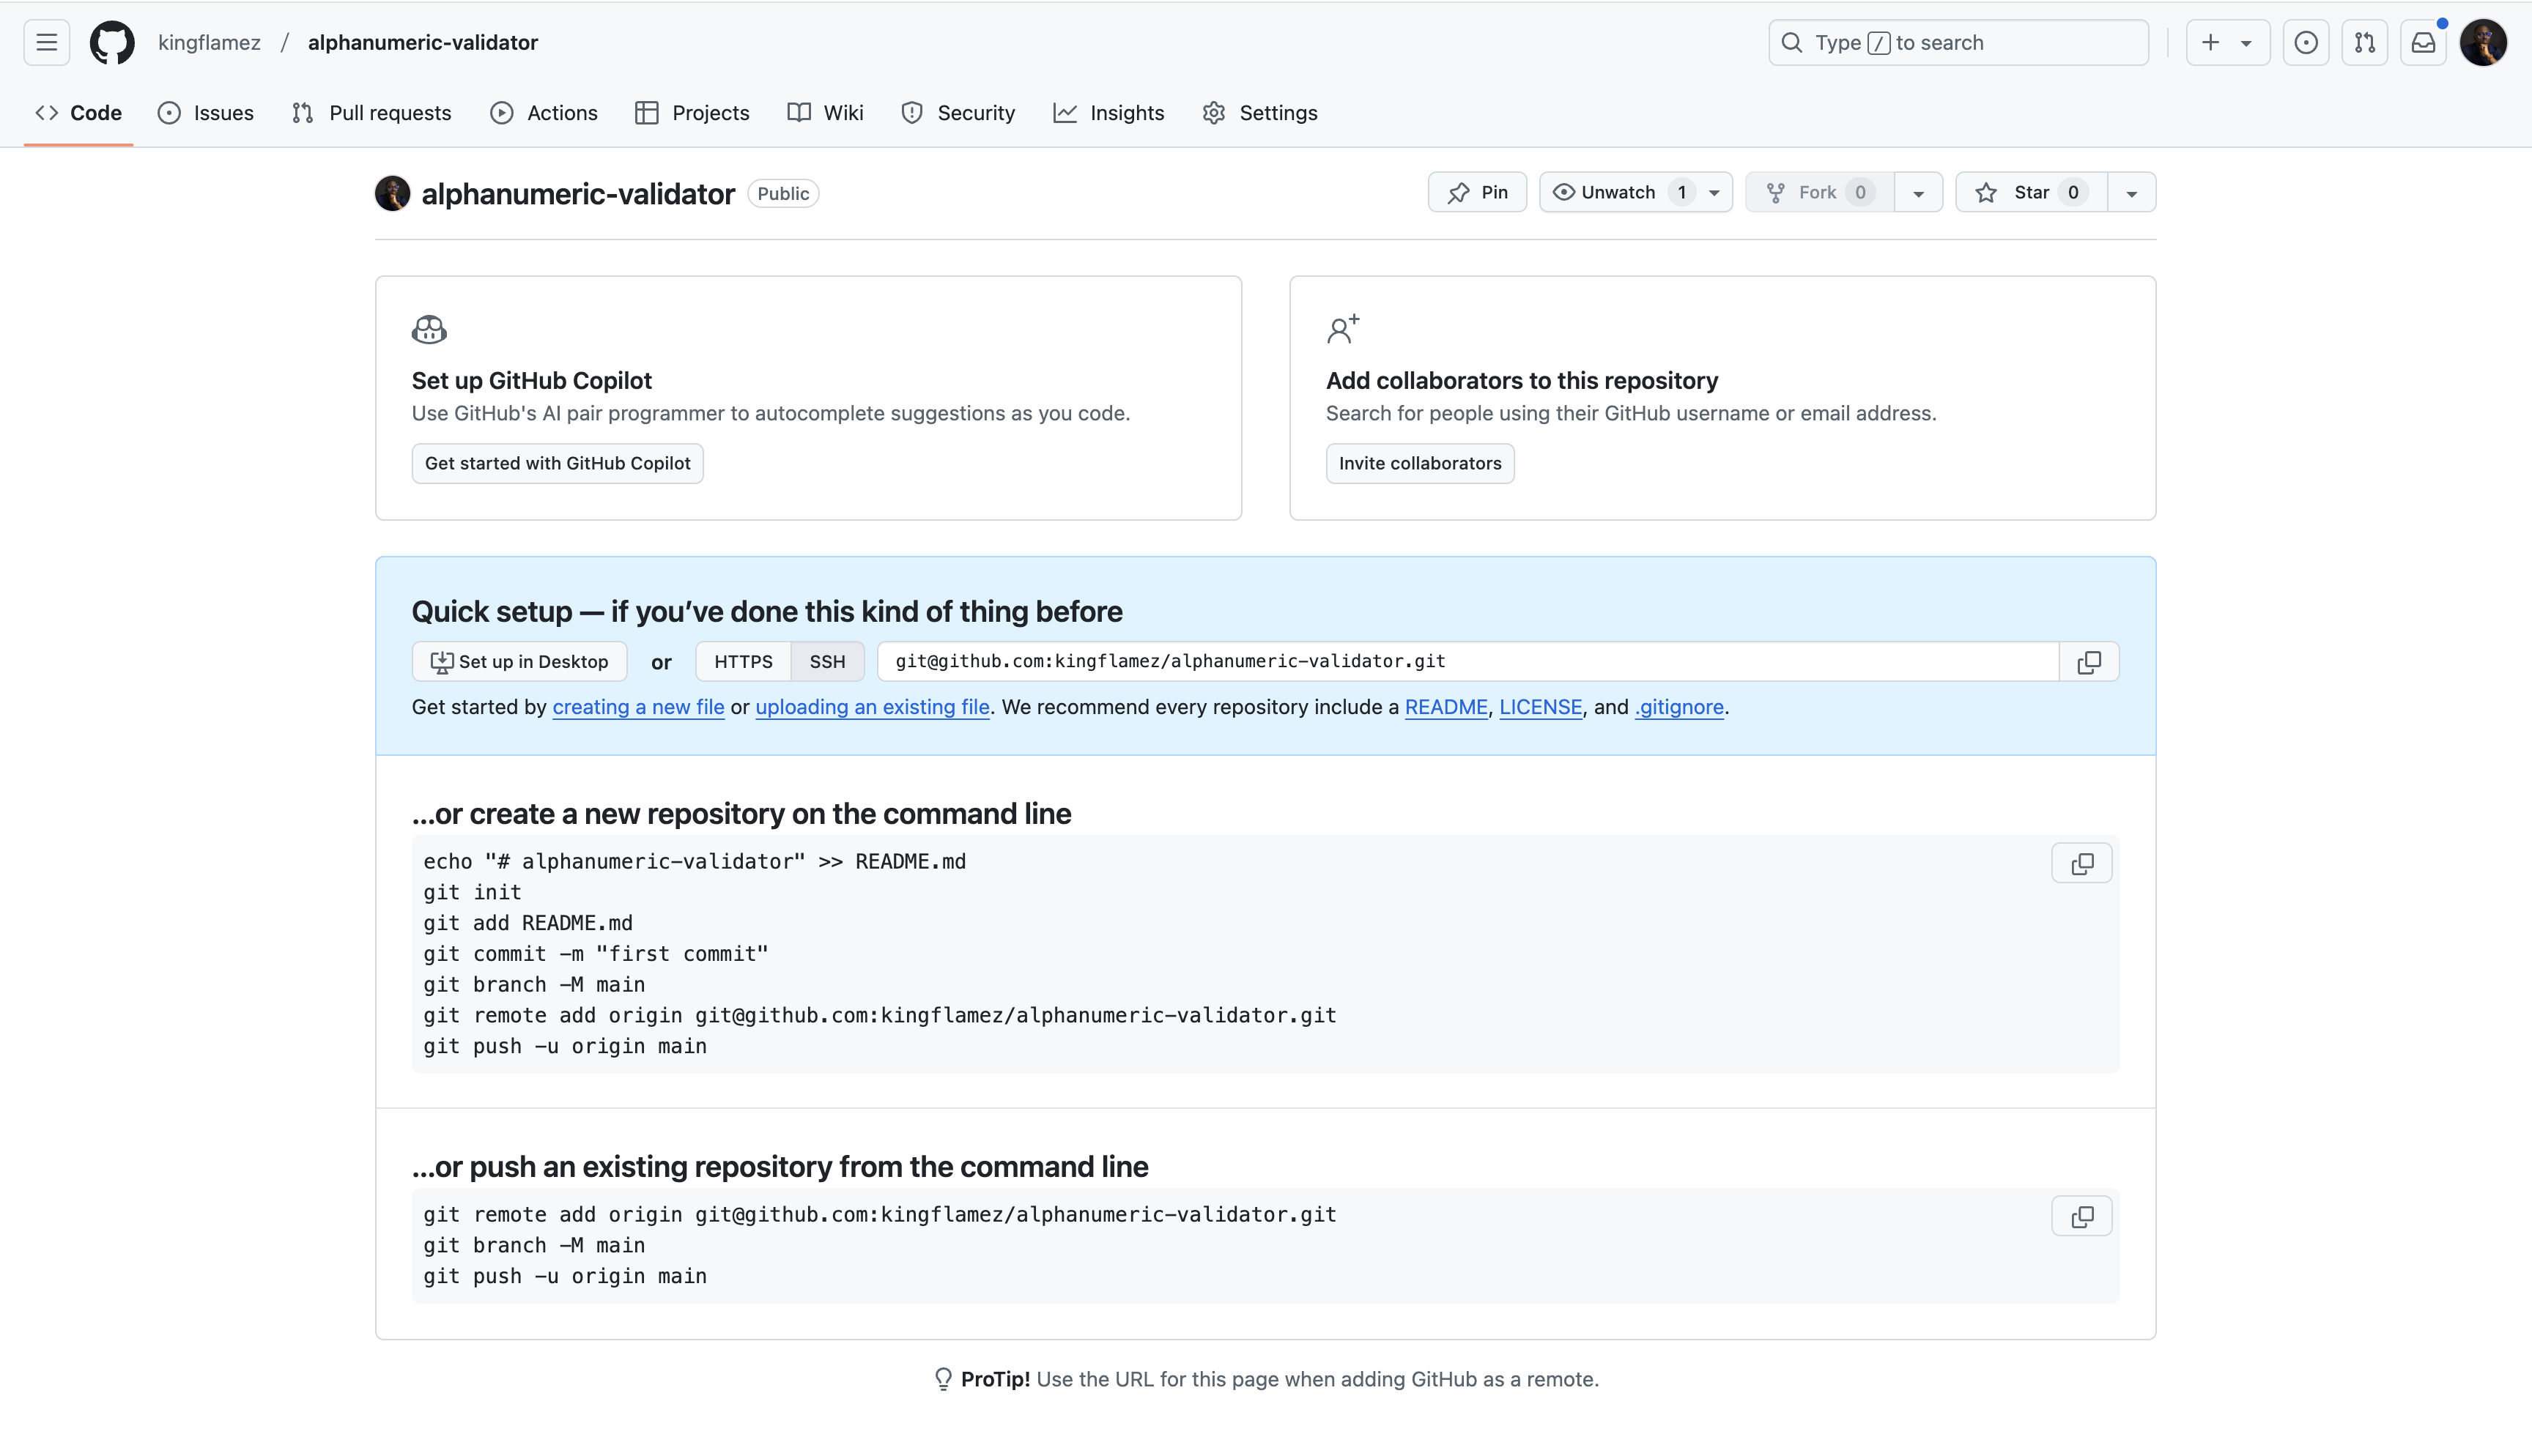
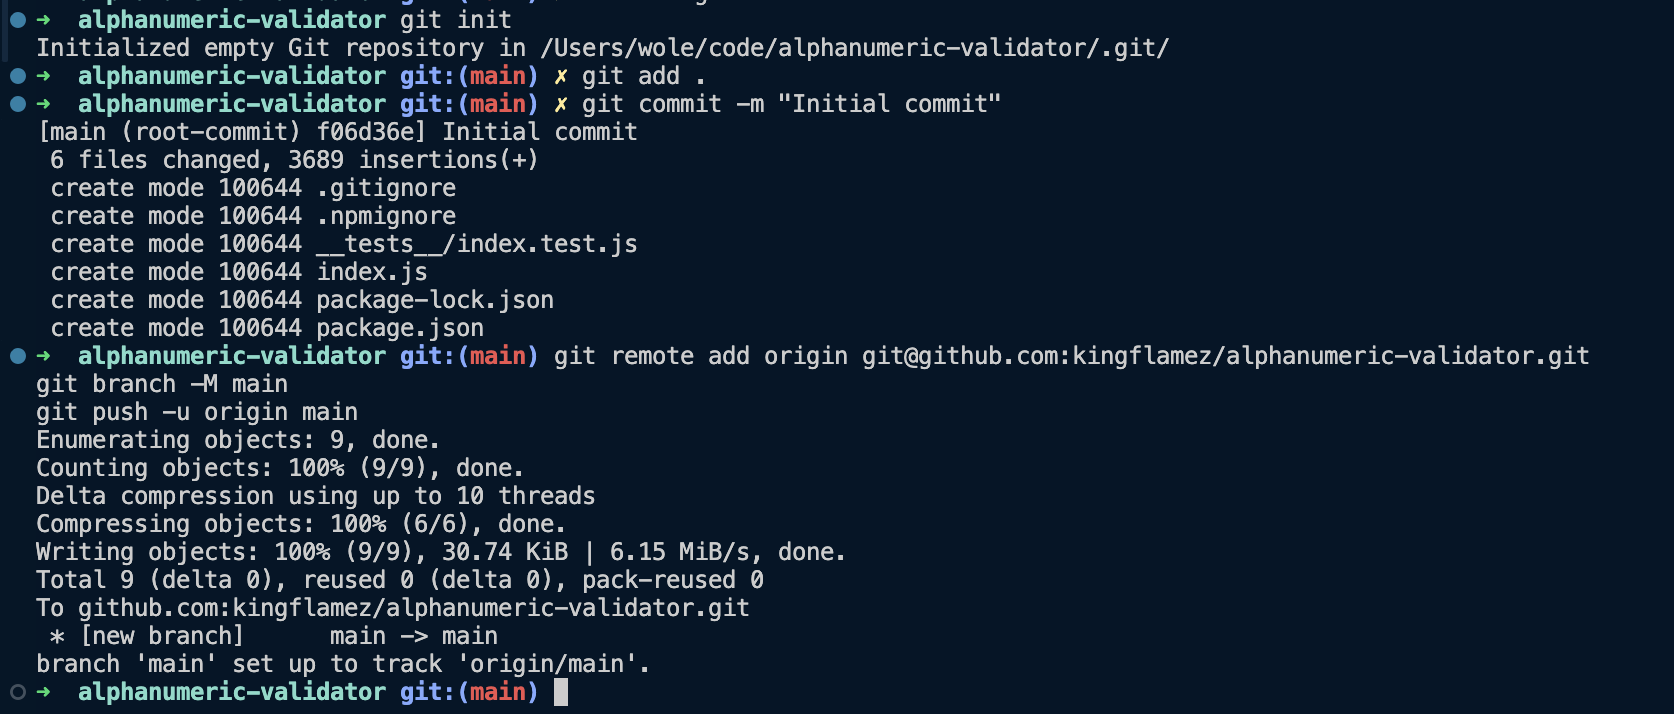
- Push Your Code
\
\
\
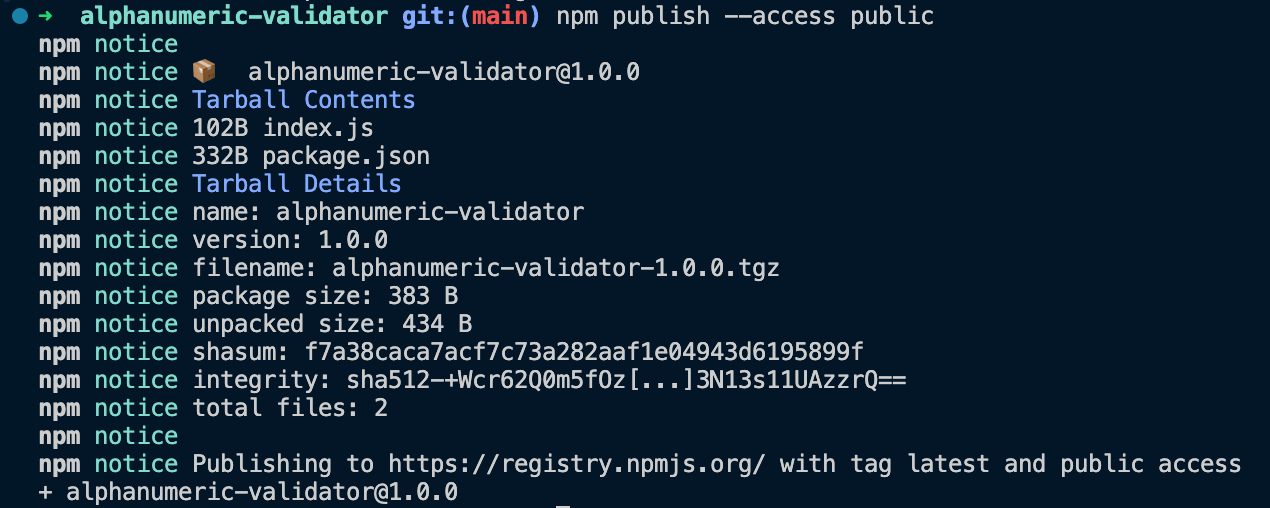
Step 5: Initial Manual Publish to npm- Before initiating the automation, confirm your package can be published—see here.
- Then, add the --access public flag to make your package public and accessible to users.
\
npm login npm publish --access public\
\
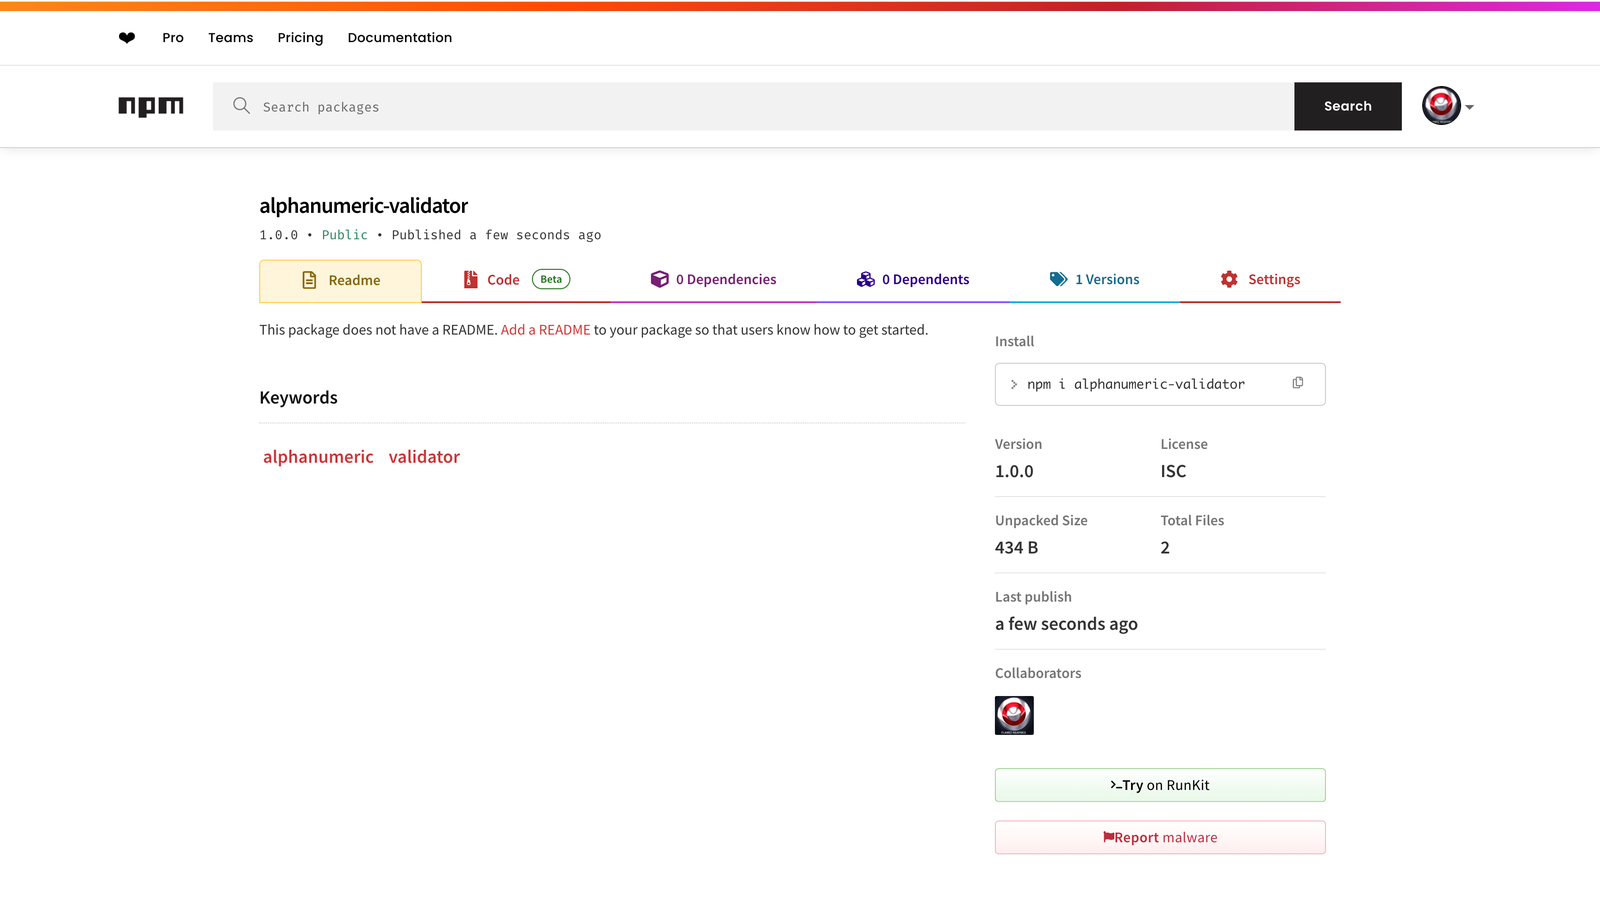
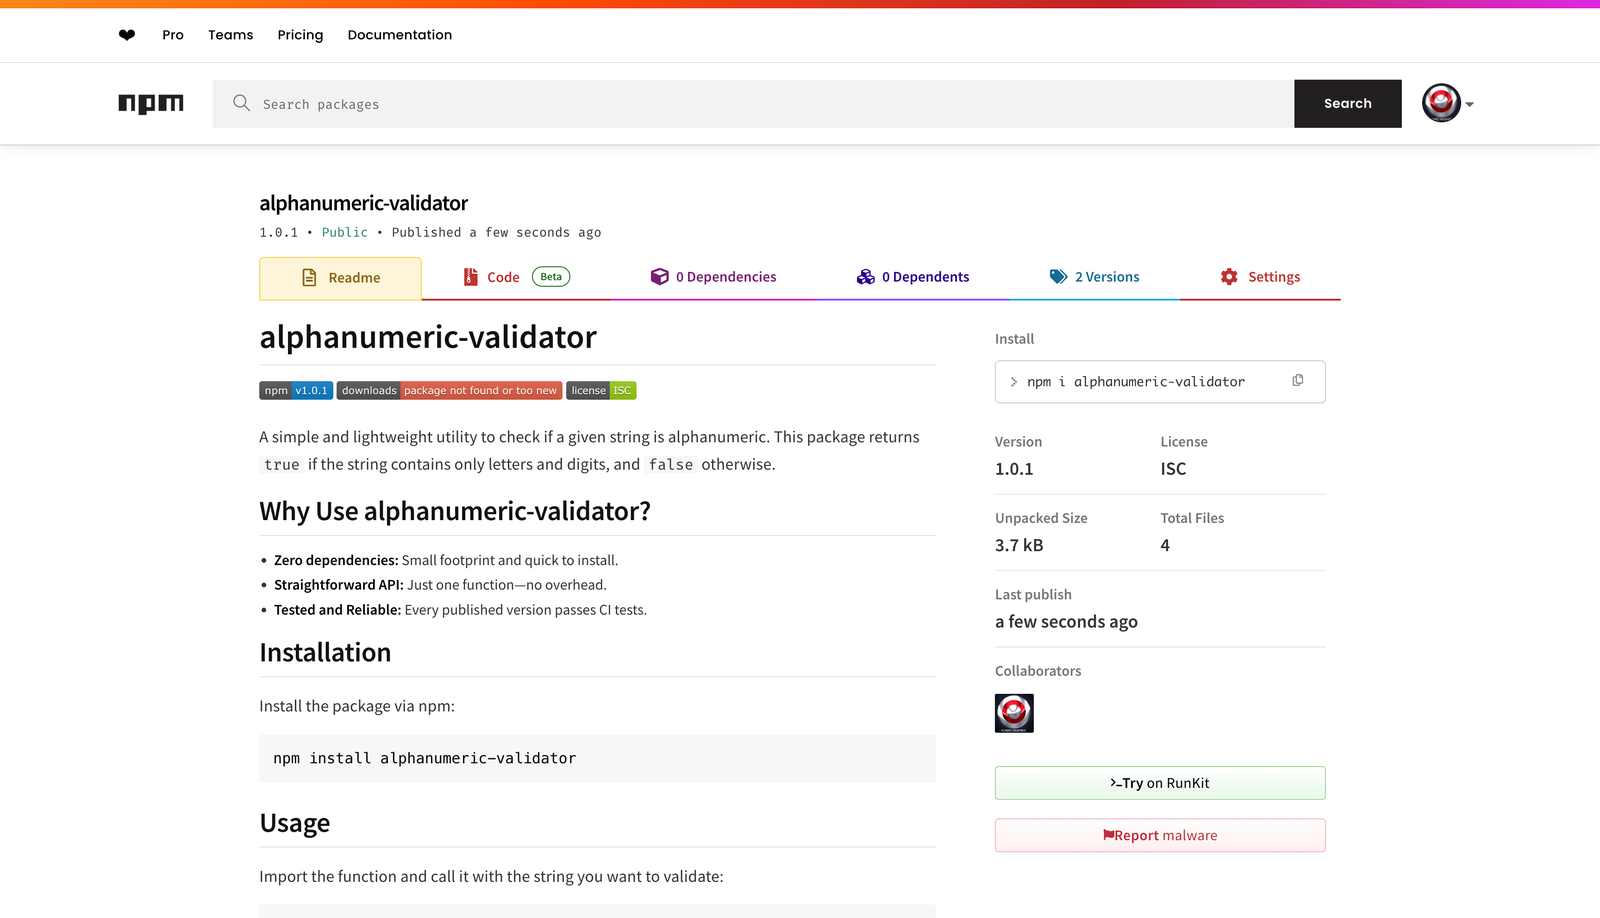
Visit https://www.npmjs.com/package/alphanumeric-validator to verify the initial version is live.
\
You need to configure a workflow that runs on every release event so that when you create a new release (like v1.0.1):
- The workflow checks out your code.
- Installs dependencies.
- Runs tests to ensure quality.
- Updates package.json to the new version from the release tag.
- Publishes the updated package to npm without including test files.
\
The Workflow FileCreate .github/workflows/publish.yml:
\
name: Publish Package to npm # Trigger this workflow whenever a new release is published on: release: types: [published] # Grant write permissions to the repository contents so we can push version updates permissions: contents: write jobs: publish: runs-on: ubuntu-latest steps: # Step 1: Check out the repository’s code at the default branch # This makes your code available for subsequent steps like installing dependencies and running tests. - uses: actions/checkout@v4 with: token: ${{ secrets.GITHUB_TOKEN }} ref: ${{ github.event.repository.default_branch }} # Step 2: Set up a Node.js environment (Node 20.x) and configure npm to use the official registry # This ensures we have the right Node.js version and a proper registry URL for installs and publishing. - name: Setup Node.js uses: actions/setup-node@v4 with: node-version: '20.x' registry-url: 'https://registry.npmjs.org' # Step 3: Install dependencies using npm ci # This ensures a clean, reproducible installation based on package-lock.json. - name: Install dependencies run: npm ci # Step 4: Run your test suite (using the "test" script from package.json) # If tests fail, the workflow will stop here and not publish a broken version. - name: Run tests run: npm test # Step 5: Update package.json to match the release tag # The release tag (e.g., v1.0.1) is extracted, and npm version sets package.json version accordingly. # The --no-git-tag-version flag ensures npm doesn't create its own tags. # This step keeps package.json's version aligned with the release tag you just created. - name: Update package.json with release tag run: | TAG="${{ github.event.release.tag_name }}" echo "Updating package.json version to $TAG" npm version "$TAG" --no-git-tag-version # Step 6: Commit and push the updated package.json and package-lock.json back to the repo # This ensures your repository always reflects the exact version published. # We use the GITHUB_TOKEN to authenticate and the granted write permissions to push changes. - name: Commit and push version update run: | TAG="${{ github.event.release.tag_name }}" git config user.name "github-actions" git config user.email "[email protected]" git add package.json package-lock.json git commit -m "Update package.json to version $TAG" git push origin ${{ github.event.repository.default_branch }} env: GITHUB_TOKEN: ${{ secrets.GITHUB_TOKEN }} # Step 7: Publish the new version to npm # The NODE_AUTH_TOKEN is your npm access token stored as a secret. # npm publish --access public makes the package available to anyone on npm. - name: Publish to npm run: npm publish --access public env: NODE_AUTH_TOKEN: ${{ secrets.NPM_TOKEN }}\
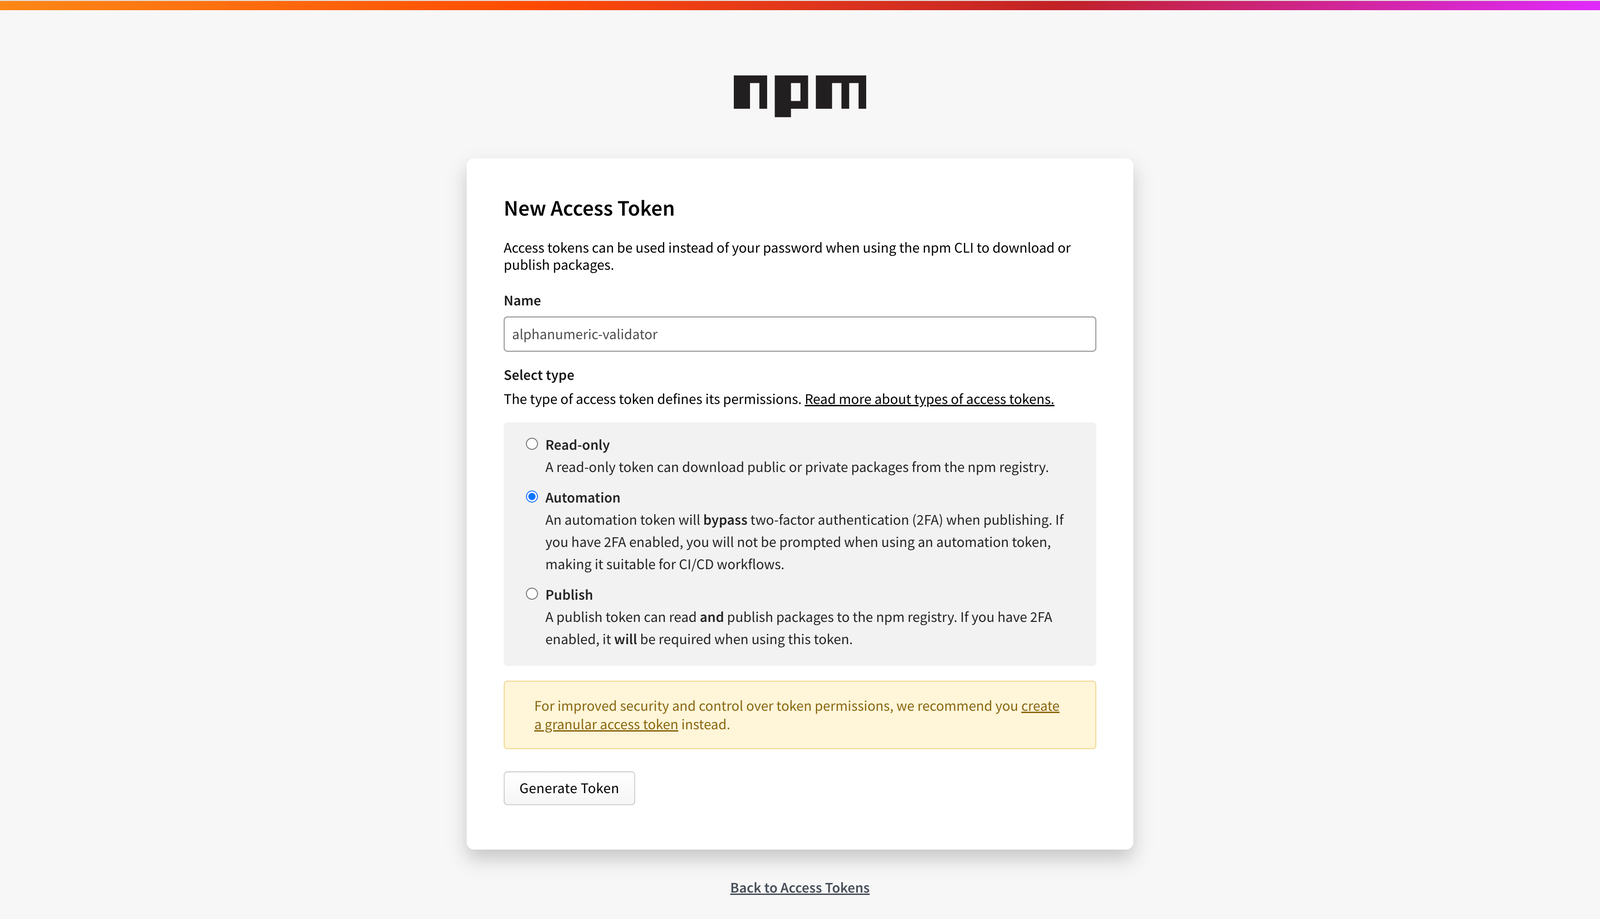
Adding Your NPM Token to GitHub- Visit https://www.npmjs.com/settings/:username/tokens/new (Ensure you replace :username with your actual username)
- Enter the name, select automation for the type, and generate
\
\
You will be redirected to the tokens page, where you can copy the token.

Go to Settings > Secrets and variables > Actions in your GitHub repository.
Click New Repository Secret and add NPM_TOKEN.
\

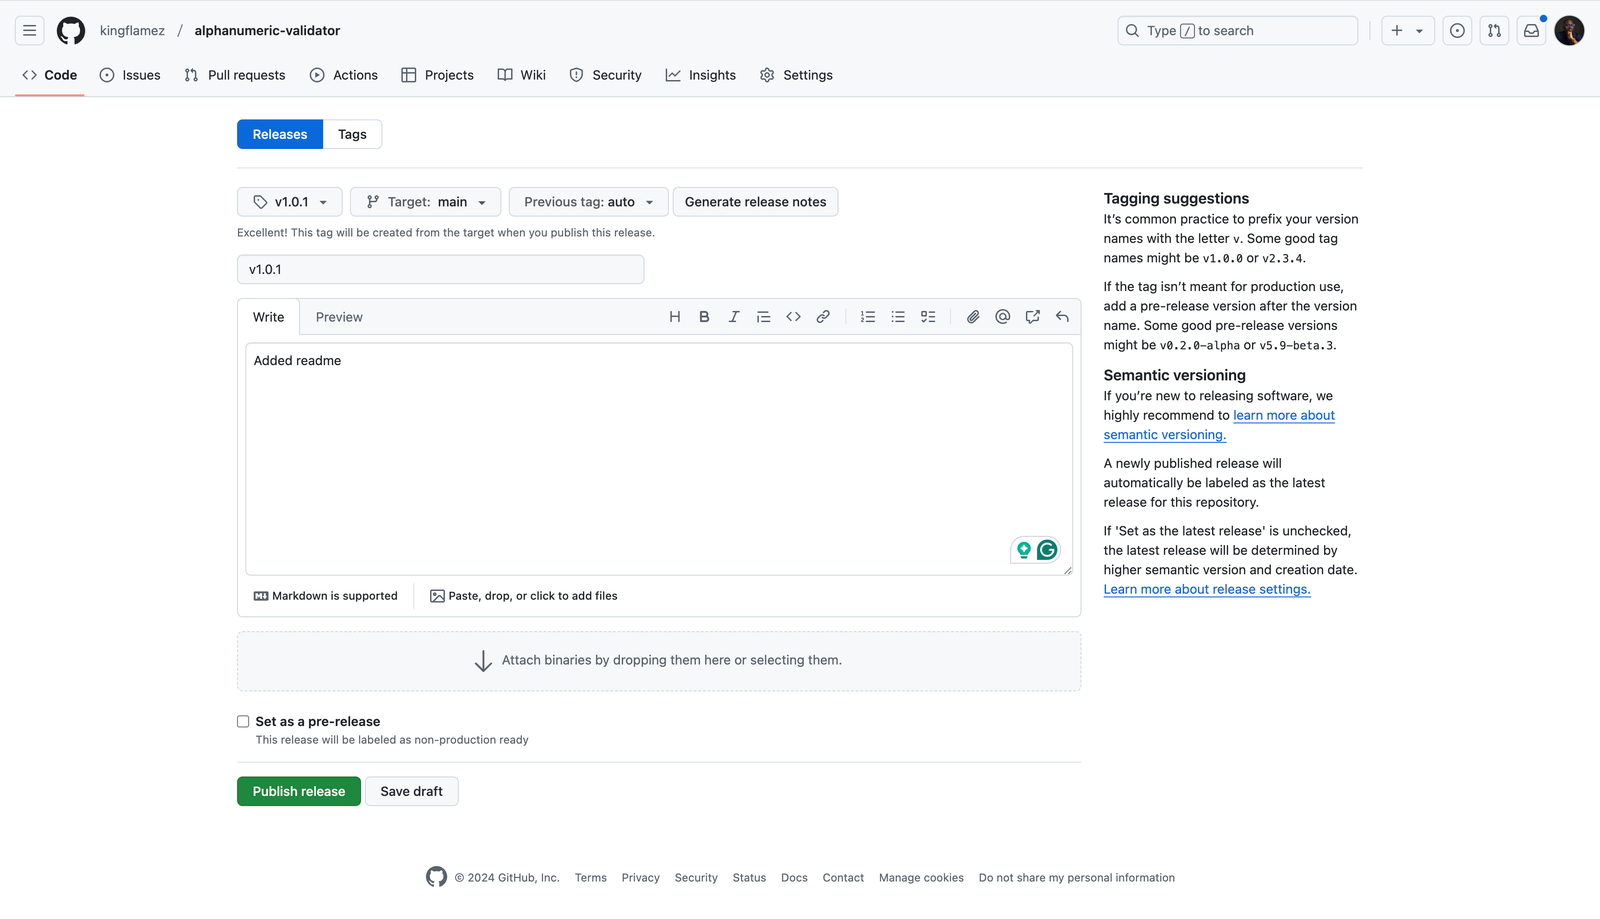
Let’s say you want to add README.md for v1.0.1 release, and you have pushed it:
- Draft a New Release:
- Go to the Releases section in your GitHub repo. [https://github.com/username/repo/releases]
- Click Draft a new release.
- Set the "Tag version" to v1.0.1.
- Click Publish release.
\
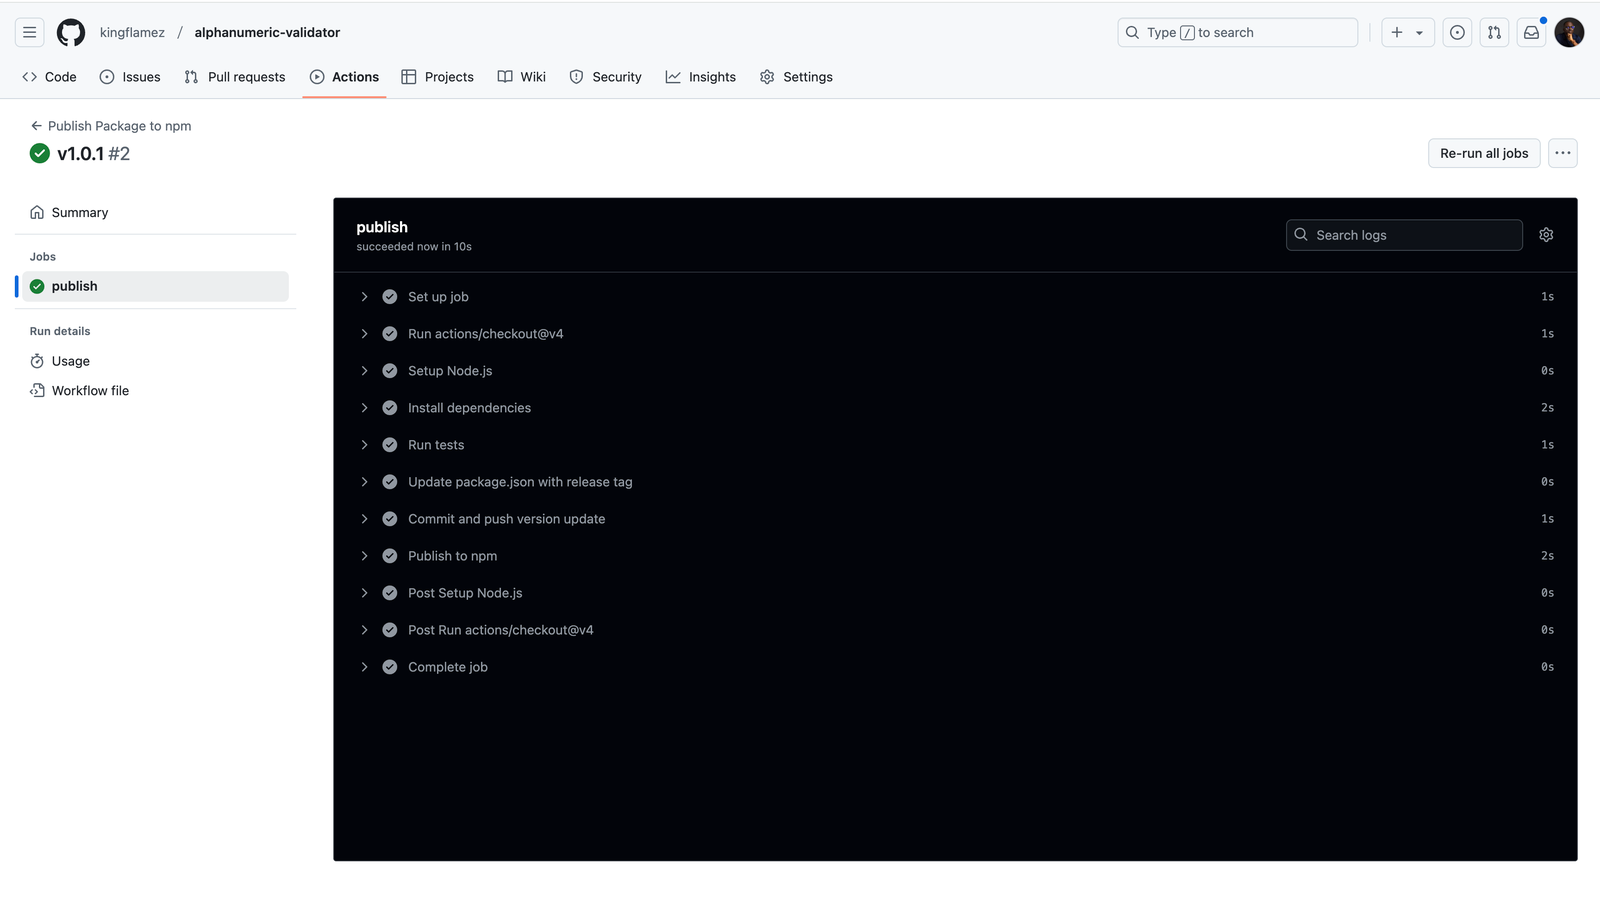
- Workflow Triggered: The release event fires. The workflow,
- Checks out the code.
- Installs dependencies.
- Runs tests. If tests fail, the job stops and the package won’t be published.
- If tests pass, it updates package.json to 1.0.1.
- Publishes the 1.0.1 version to npm, excluding test files.
\
- Verify on npm: After a moment, visit your npm package page to see the new version live.
\
\
ConclusionIntegrating GitHub Actions into your npm publishing workflow establishes a great CI/CD pipeline. With each new release, a comprehensive series of tests run, package.json is updated with the correct version, and a streamlined package is published to npm—free of unnecessary files like tests.
This approach saves time, reduces human errors, and enhances the reliability of your releases, making it easier for contributors to see their work go live seamlessly.
A single GitHub release is now all it takes to ship a fully tested, properly versioned package to the npm registry.
\