and the distribution of digital products.
DM Television
Build an AI Chatbot Faster Than Your Morning Coffee Run With This Guide
\ AI-powered chatbots can enhance user experience and automate responses effectively. In this tutorial, you’ll learn how to quickly build a chatbot using React, Vite, and Cohere’s API, with a backend integration using Express. With its simplicity and speed, Vite makes it easy to set up modern JavaScript applications.
\ This architecture prevents exposing sensitive API keys by routing requests through a server.
What You'll Learn- Setting up a basic React project with Vite.
- Using Cohere’s AI platform for natural language generation.
- Creating an Express server to interact with Cohere's API.
- Building a responsive chatbot interface in React.
- Basic knowledge of React, JavaScript, and Node.js.
- Node.js installed on your system.
- A Cohere account (sign up here to get an API key)
\
Step 1: Set Up Your React ProjectCreate a new React project using Vite:
\
\
Start the development server:
\
\
- Open the project in your favorite code editor.
\
Step 2: Create the Express Server- Initialize a new Node.js project in the same directory:
- Install the required packages:
- Update package.json file to use the type module to enable use of native imports:
- Create a file named server.js in the server directory and add the following code:
- Create a .env file in the server directory:
- Start the server:
\ Important: Never share your .env file or commit it to version control. Add .env to your .gitignore file.
\
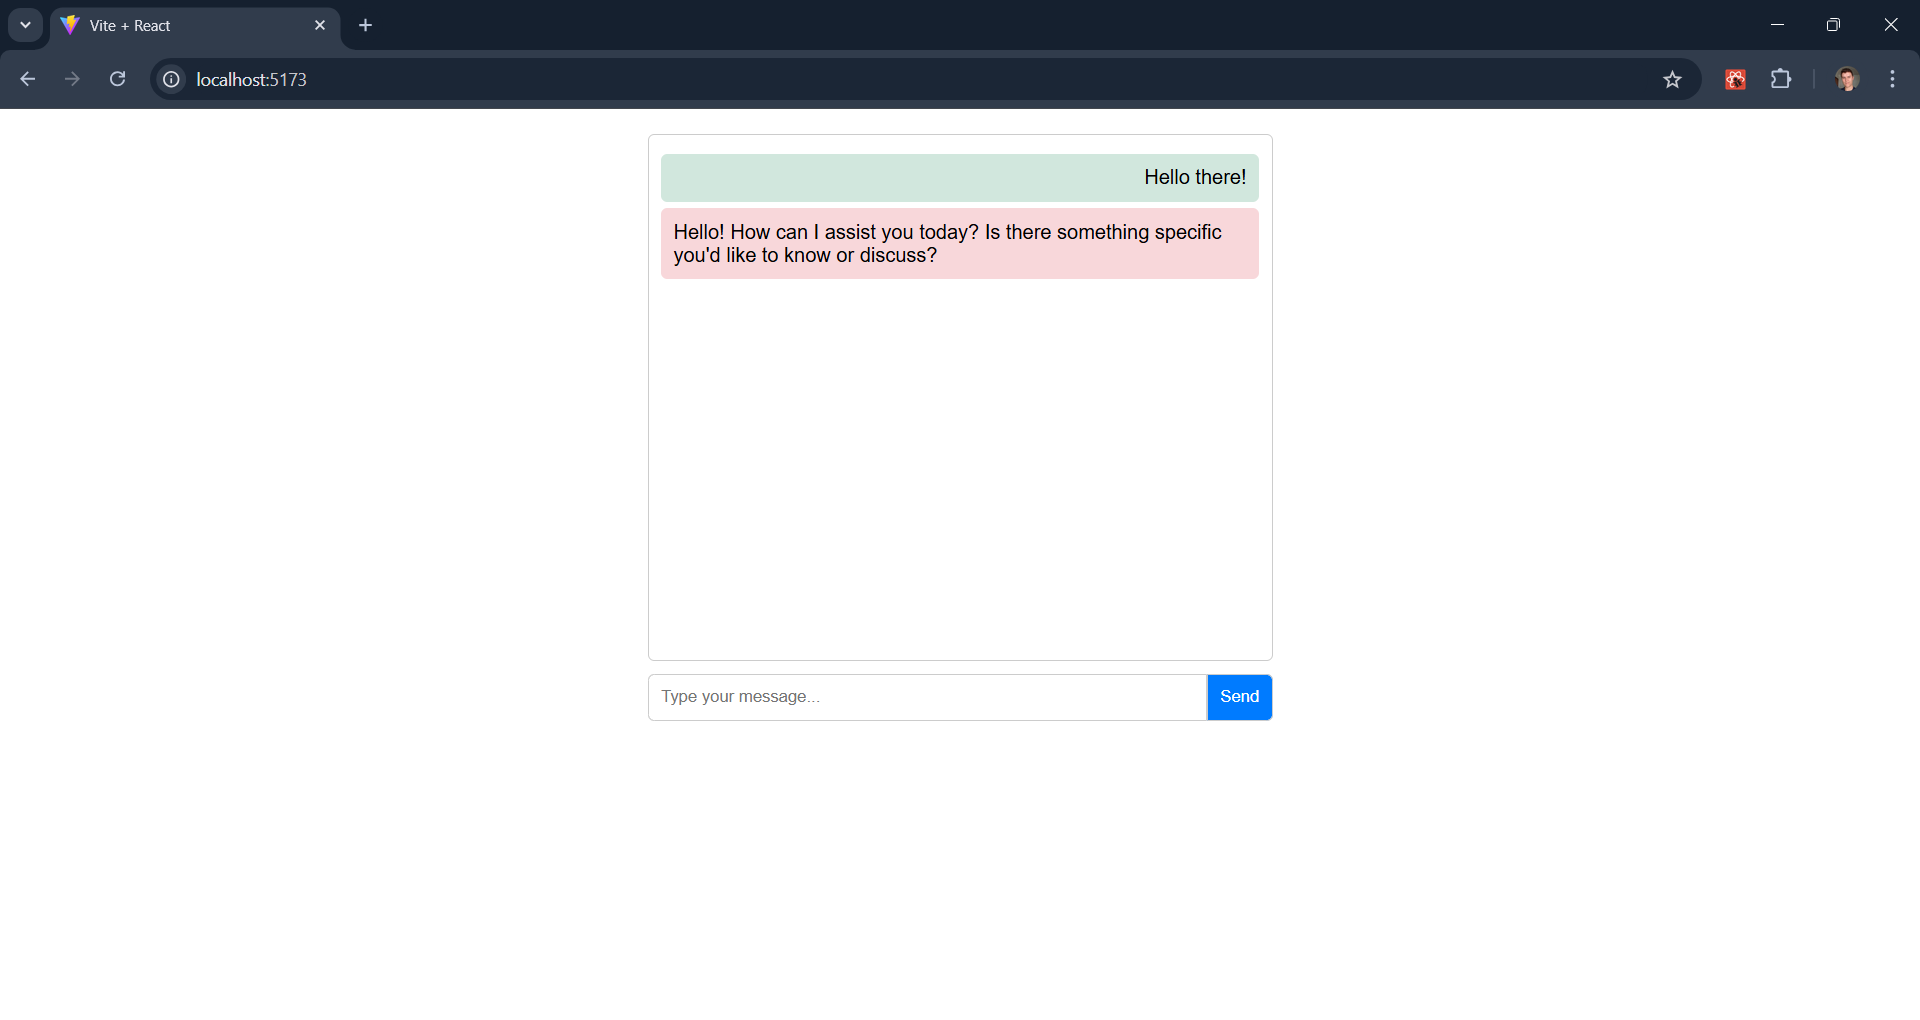
Step 3: Build the Chatbot InterfaceUpdate the App.jsx file with the following code:
\
import React, { useState } from 'react'; import './App.css'; const App = () => { const [messages, setMessages] = useState([]); const [userInput, setUserInput] = useState(''); const [loading, setLoading] = useState(false); const sendMessage = async () => { if (!userInput.trim()) return; const newMessages = [...messages, { sender: 'user', text: userInput }]; setMessages(newMessages); setUserInput(''); setLoading(true); try { const response = await fetch('http://localhost:5000/generate', { method: 'POST', headers: { 'Content-Type': 'application/json', }, body: JSON.stringify({ prompt: userInput }), }); const botReply = await response.text(); setMessages([...newMessages, { sender: 'bot', text: botReply }]); } catch (error) { console.error('Error fetching bot reply:', error); setMessages([ ...newMessages, { sender: 'bot', text: 'Sorry, something went wrong.' }, ]); } finally { setLoading(false); } }; return (Create a file named App.css for styling the chatbot interface:
code.chat-container { font-family: Arial, sans-serif; max-width: 500px; margin: 20px auto; } .chatbox { border: 1px solid #ccc; padding: 10px; height: 400px; overflow-y: auto; border-radius: 5px; margin-bottom: 10px; } .message { margin: 5px 0; padding: 10px; border-radius: 5px; } .message.user { background-color: #d1e7dd; text-align: right; } .message.bot { background-color: #f8d7da; text-align: left; } .input-container { display: flex; } input { flex: 1; padding: 10px; border: 1px solid #ccc; border-radius: 5px 0 0 5px; } button { padding: 10px; border: 1px solid #ccc; border-radius: 0 5px 5px 0; background-color: #007bff; color: white; cursor: pointer; } Step 5: Test Your Chatbot- Run the React app and the server simultaneously. You can use concurrently or open two terminals:
\
- Terminal 1:
- Terminal 2 (inside server):
\
- Open the React app in your browser.
- Type a message and send it. The request will go to your Express server, which will securely call Cohere’s API and return the result.
\

You can find the complete source code for this project on GitHub: AI Chatbot with React and Cohere. Feel free to clone it, explore the code, and customize it to your needs!
ConclusionYou’ve built a functional AI-powered chatbot using React, Vite, Cohere and Express. This project can be enhanced with features like:
\
- Speech-to-text and text-to-speech integration.
- Persistent conversations stored in a database.
- A more polished design using a CSS framework like Tailwind.
- Deploy the server using services like Heroku, AWS, or Vercel.
\ Start experimenting and happy coding!
\
- Home
- About Us
- Write For Us / Submit Content
- Advertising And Affiliates
- Feeds And Syndication
- Contact Us
- Login
- Privacy
All Rights Reserved. Copyright , Central Coast Communications, Inc.